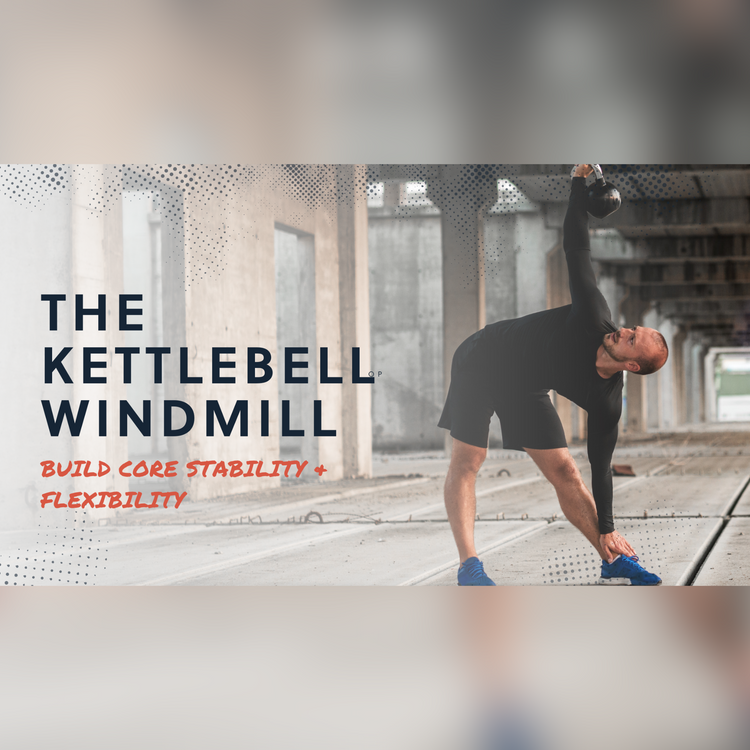
Kettlebell Core Stability: Windmill Exercise Guide
Americans have a weird relationship with the middle ground. We always divide ourselves into extreme camps, living in one extreme or another. Nutritionally, we follow those same extremes, consuming either too much food or—in desperation to lose weight—we starve ourselves.
Even when it comes to exercise, this pattern continues. It's either upper-body day or the dreaded leg day. Of course, the muscles in the middle don't get their day. "Core days" are just as few and far between.
The irony is that, without a strong core, we're limiting the effectiveness of those upper and lower workouts.
Fortunately, kettlebells provide a powerful way to challenge those core muscles through a dedicated kettlebell core stability approach. Exercises like the Turkish Get-Up and the Windmill are great for the whole body but are especially suited to strengthening that middle link in the chain that connects the upper and lower body. As with any chain, our bodies are only as strong as that weakest link. A guide to the Turkish Get-Up is available from Living.Fit, so let's look at the benefits of the Kettlebell Windmill.
Benefits of The Kettlebell Windmill
The multi-plantar windmill tasks the obliques and abdominals to resist spinal flexion, extension, and lateral flexion. You know all those little muscles that don't get much attention because they don't contribute to a ripped body image? Those are the ones that are working as we descend and ascend through the windmill.
For those of us who are seeking hypertrophy, the windmill will not leave us lacking. But, not to worry! Windmills challenge our hip mobility, a key component of kettlebell mobility. As we descend into the windmill, our hamstrings control the movement. Then, on our ascent back to an upright position, our glutes raise the body and stabilize its upward movement.
Like the Get-Up, the windmill offers an opportunity to build shoulder stability since our muscles keep the kettlebell stable as we move up and down. Our Rhomboids, Traps, and Rotator cuff muscles are activated as we support the kettlebell's weight overhead. Plus, since we are loading our shoulders with the weight of the kettlebell, our shoulders and back benefit from the exercise, too.
Stability is the theme running through all of the muscle groups worked by the windmill. This exercise will challenge our ability to maintain control of our body as we move through our frontal and transverse planes.
Given all of its benefits, the Kettlebell Windmill is a standout in any kettlebell core routine:
Helpful Resources:
How To Windmill
First off, safety should always be our priority. Since this is different from your traditional sagittal-plane exercise, it may be an unexpected test of muscles that seldom get our attention. So, start with a lightweight. I encourage my clients to execute their first Windmills with no weight at all. If the movement is a challenge without weights, practice this movement as a body-weight exercise. Then, slowly increase the resistance by using light dumbbells.
Since my focus is functional strength, I like to begin with the kettlebell on the ground so that each windmill starts with cleaning the bell, stabilizing it in the rack position, and then pressing the kettlebell.
Technically, this isn't part of the Windmill exercise, but I like to tie the clean and press into the windmill to make for a more fluid and flowing movement. Remember, keep your core activated throughout the clean, rack, press, and windmill.
From the press, the windmill begins: our first step is to position ourselves correctly for the descent. If we cleaned and pressed the kettlebell with our right arm, we need to shift our feet 45 degrees to the left of the center.
After positioning our feet correctly, we want to lock in our right hip while maintaining a locked right knee. Since the bell is in our right hand and we will descend to our left, the right leg and hip will serve as the fulcrum in our movement. Locking that hip and knee will give us a stable center of mass to rotate away from.
Consider the locked hip the way we pack our shoulders before performing kettlebell swings. Locking in our hip can protect us from a sudden loss of control that could injure muscles or connective tissue.
As with the Turkish Get-Up, you always want to focus on the raised kettlebell. Focusing on the bell will allow you to control it and prevent it from swaying off-center and pulling you with it.
That kind of unexpected pull is where you risk injury, so keep your eyes focused on the bell.
Keeping your right leg locked, you'll descend into the windmill by bending your torso toward your left leg. I like to use my hand to guide this movement by sliding my palm down my leg until I reach my foot and the floor.
Notice that as my hand nears the floor, my eyes are still focused on the kettlebell.
You should descend as far down as you control yourself and the kettlebell. If that means stopping at your knee or ankle, stop there. As you continue practicing the movements of the Kettlebell Windmill, your mobility will improve, and you can safely descend further.
As you descend, you want to maintain an arm position of approximately 90 degrees.
Following your descent, you will slowly and deliberately reverse your movement. Again, tracing your hand up your leg as you ascend will serve as a tactile guide in your movement. After all, your eyes should still be fixed on that kettlebell, right?
Once you've returned to an upright position with the kettlebell in a pressed position, you've completed the windmill.
If I focus on full-body strength and mobility, I will typically return the bell to the ground, repeat the clean, and press before my next windmill. However, if I'm focusing on my core strength, I may move immediately into my next windmill without returning the bell to the ground. This makes it an excellent addition to a kettlebell core routine.
Beginners should incorporate 5-8 windmills per side into their exercise program.
If you struggle with the full windmill, try half kneeling windmills!
Helpful Resources:
Windmill Variations
There are a few variations of the Kettlebell Windmill that you can also try to enhance your kettlebell core stability.
A more advanced variation keeps the forearm across the belly. This variation emphasizes the core since your left hand can no longer control your movement.
If you are looking for a regression of the windmill, you can place the kettlebell in your lower hand. This variation makes the descent easier but works the core muscles harder as you ascend.
Suppose you began practicing Windmills as body-weight exercises. In that case, this variation is a good way of introducing weight into the movement, especially if your shoulder stability prevents you from keeping an elevated kettlebell safely stable.
A final variation would include kettlebells in both hands. However, this is not a variation I recommend to any advanced Windmill practitioners. Remember, our goal is to get strong, not injured!
Helpful Resources:
-
Be alerted when we publish more like this to our blog here
-
Daily workout plans here
-
Fitness Equipment like resistance bands, pull up bars, etc here
-
Free bodyweight workouts here
-
Follow along with $1 video workouts here


